

Hurrah! The tiling is very nearly done apart from a bit of scrubbing needed to finish off. *big sigh of relief* I did the tiling all by myself. Yes, indeedy! I taught myself when we renovated the bathroom in our last flat.
The walls here made it difficult at times because they're not very even. Each tile needs a different amount of adhesive to bring the front of the tiles to a constant height. It took a lot of thought to get a good, even finish, with no gaps or oddly placed half tiles as the ends of rows, but I'm really, really pleased with the results, even though I say so myself!

I used cream grout between the tiles, rather than white, because, according to the tile shop, white tends to show the dirt and grease quickly in a kitchen, and discolours to dingy grey. Not nice.
I used wide spacers, rather than teeny narrow ones because the edges of the tiles are uneven. It gives them space to shine. ;-)

My top tiling tip is DON'T use adhesive and grout all in one, no matter what the adverts say. It's a TOTAL nightmare to clean off the tiles when you've finished. I was sucked in last time and so was dreading the cleaning part here but this lovely grout can almost be brushed off, which was a VERY pleasant surprise!
Our back doorstep used to be two badly fitted rectangles of mdf leaning against a makeshift cement step. SO not pretty. I asked our brilliant carpenter to make a proper wooden step for the back door and he came up with the fab idea of tiling it instead. Much more hardwearing, he said. Consequently, I have also been busy tiling that too....

So....it's now (or it will be when it's dried!) all covered up with smart charcoal grey slate tiles. Yummy. It was, indeed, an excellent idea so thank you, Mr Carpenter!

Now, on with fun part.....painting!


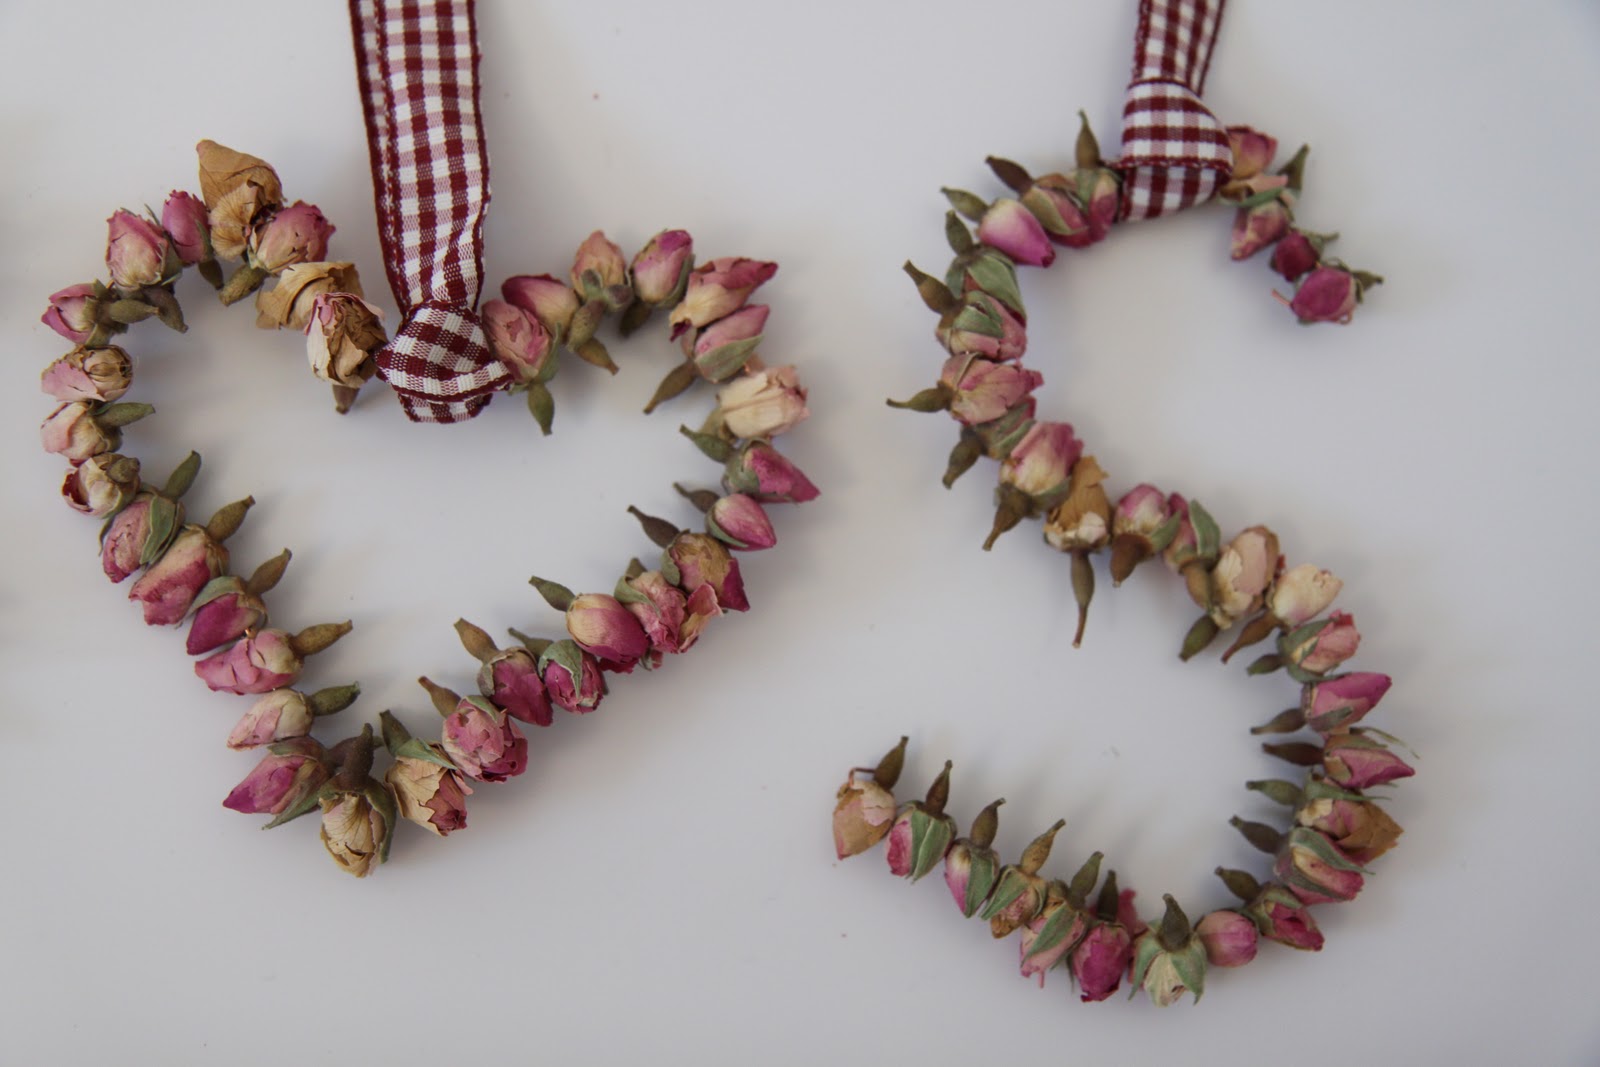
 They've been sitting around stored away and I had all but forgotten about them in the hustle and bustle of every day life. Then last week, they suddenly popped into to my mind and set me a-wondering what I could do with them. It seemed such a shame to just have them stashed away. I wanted them, or at least some of them, to be on display. But how to do it?


