

See Restoration Hardware's yummy Cable Knit Cushion? Come and see how to make your own for a fraction of the price. I'm joining Homebody's Link Party!

I had a cardigan that had been hand-knitted from incredibly tactile, cream, woollen yarn. Gorgeous but massive on me! I thought it would make a fantastic Modern Country Style cushion if I could upcycle it. ("Upcycling is the process of converting waste materials or useless products into new materials or products of better quality or a higher environmental value." Thanks, Mr Wikipedia!)
Here's how I did it.....
1) I had a good look at the main body of the cardigan with the buttons done up. Here's the front of the original cardy (the back is just plain):

I planned to use the the front of the cardigan for the front of the cushion and the back of the cardigan for....you've guessed it...the back of the cushion!
The side seams met were straight lines, rather than being curved to fit a body, meaning I could leave those seams to form the sides of the cushion, without having to unpick them. The more you can use the existing seams of the cardigan, the less worrying you have to do about cutting into knitting that might fray at a later stage. See how neatly the side edges are finished already:

2) I needed to choose a height for the cushion. I chose 52.5cm, or 50cm minus seam allowance. That seemed ideal to me, though if you want a diddier cushion then by all means make it smaller!
To ensure the front and back were precisely attached, I counted the number of of knitted stitches across both the front (buttons done up) and the back and, happily, there was the same number on each. I turned the cardigan inside out and tacked the front and back together with red thread (so I could see it!) across the body of the cardigan perpendicular to the bottom edge but 51 cm higher (remember I'm adding space for the seam allowances). I made sure that, between each tack, there were five knitted stitches on the front and back, and that each tack was five knitted stitches long, front and back. Make sure you keep your tacking line perpendicular to the bottom edge by running it along the same row of knitting, like this:

I know that sounds complicated but it's not - honest! Here's a photo example of the counting. Can you see the five labelled stitches? Keep it like that - front and back and you'll be fine!

I then used a very tight zig-zag stitch and stitched over the tacking line (51cm up from the bottom) so that the knitting wouldn't come unravelled when I cut it and unpicked the tacking, because, let's face it, after all that counting, it would be pretty darn annoying. Grrr.
If that is done properly then you get a nice straight line along the seam joining the front and back sections when you turn the cushion the right way.

3) The next stage was to carefully cut off the top of the original cardigan about 1.5 cm above my stitched line (a tense moment but it was fine!). This left a 52.5 cm tube (with the buttons still done up, remember).
Here's a photo of the top edge, sewn and cut but still inside-out, and the side edges of the cardigan in place. See how straight they are?

4) I sewed up the bottom of the cardigan, 1cm from the edge (to make the bottom edge of the cushion). This time I used straight stitch on the sewing machine, as the knitting had already been neatly cast off during the cardigan-making process; this also meant I could reduce the seam allowance to 1 cm, reducing bulk.
Here's what will be the bottom edge of the cushion:

Here is a photo of the back:

5) I wasn't keen on the original plasticky buttons on the front so I snipped them off and sewed on large mother-of-pearl ones.

6) Turning it all the right way around, you can see it's nearly there as a cushion. Exciting moment!

The original opening of the cardigan provides the opening for the cushion insert, which I made especially to fit plumply inside the cushion (which is 60 cm x 50 cm when turned the right way around), with cotton casing and good quality stuffing (the cheap stuff goes very lumpy). For a quick look at how to make the inner (easy peasy), look here.

To make the cushion plumper, add more filling! But I have made the mistake previously of making a cushion inner so over-filled it was literally bursting at the seams so be warned!!

7) I placed the new pleasantly plumptious inner (a whole new tongue-twister - who knew I could be so creative during a tutorial?!) inside the cushion, shaping and coaxing as I went to ensure all corners were properly poked out, using my finger, like this:


8) A nice easy last step: do up the buttons and admire your handiwork!!
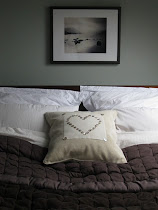
And there you have it: a beautiful snuggly cushion upcycled from a too-big cardigan!

This project was quick and soooooo rewarding. It probably only took a couple of hours and if I did it again, I'm sure I could run it up in half that time, because I was feeling my way a bit through this project. Want to see what I did with the armsof the cardigan? Have a look here (the start) and here (the embellishing) for more ideas.

My knitting isn't very even,*blush*, so this was a great alternative for a knitted cushion. I'm so pleased with it and have to point it out to everyone who visits!!
Have a good, crafty weekend and thank you so much for visiting Modern Country Style. See the 'comment' box? It's a-waiting for you!


30 comments :
Very clever! Wish I could sew...my hot glue gun replaces the need in many cases but I don't think it would work in this nstance! xxx
You *can* sew! This project really didn't involve anything tricky on the sewing machine.
That is so impressive Sarah!
No, I really can't sew let alone use a machine. I was traumatisd by needlework lessons at secondary school where the teacher slapped me round the face and locked me in the cupboard - really!!
What a great idea! Thank you <3 ....now I have to fine some cardigans:)
Nina
WEll, how adorable is this? It totally motivates me to get crackin' on a couple thrift sweaters I picked up at thrifts last year. Hoping to felt them, then make 'em into cushions for winter.
LOVE those buttons you put on there!
Glad you could Mi4M!
These look so cozy. I love them. Nice work!
The pillows are just great! I especially love the button front.
'YES' TO RECYCLED GREATNESS!!
This is really good!!
OK. I would like to invite you to link up on our site so our readers can find you too: http://www.finecraftguild.com/diy-tutorial-linky-party-15/
(BTW a new linking opportunity is posted each Wednesday, so every week you get to bring us your DIY / Craft tutorials for our readers to review)
Hope to see you soon! Have a lovely creative day!
What a wonderful idea! I'm new to sewing, but this looks like something I might actually be able to do!
Visiting from Polly Want a Cracker linkup
Amanda
@sleepytimeproductions.blogspot.com
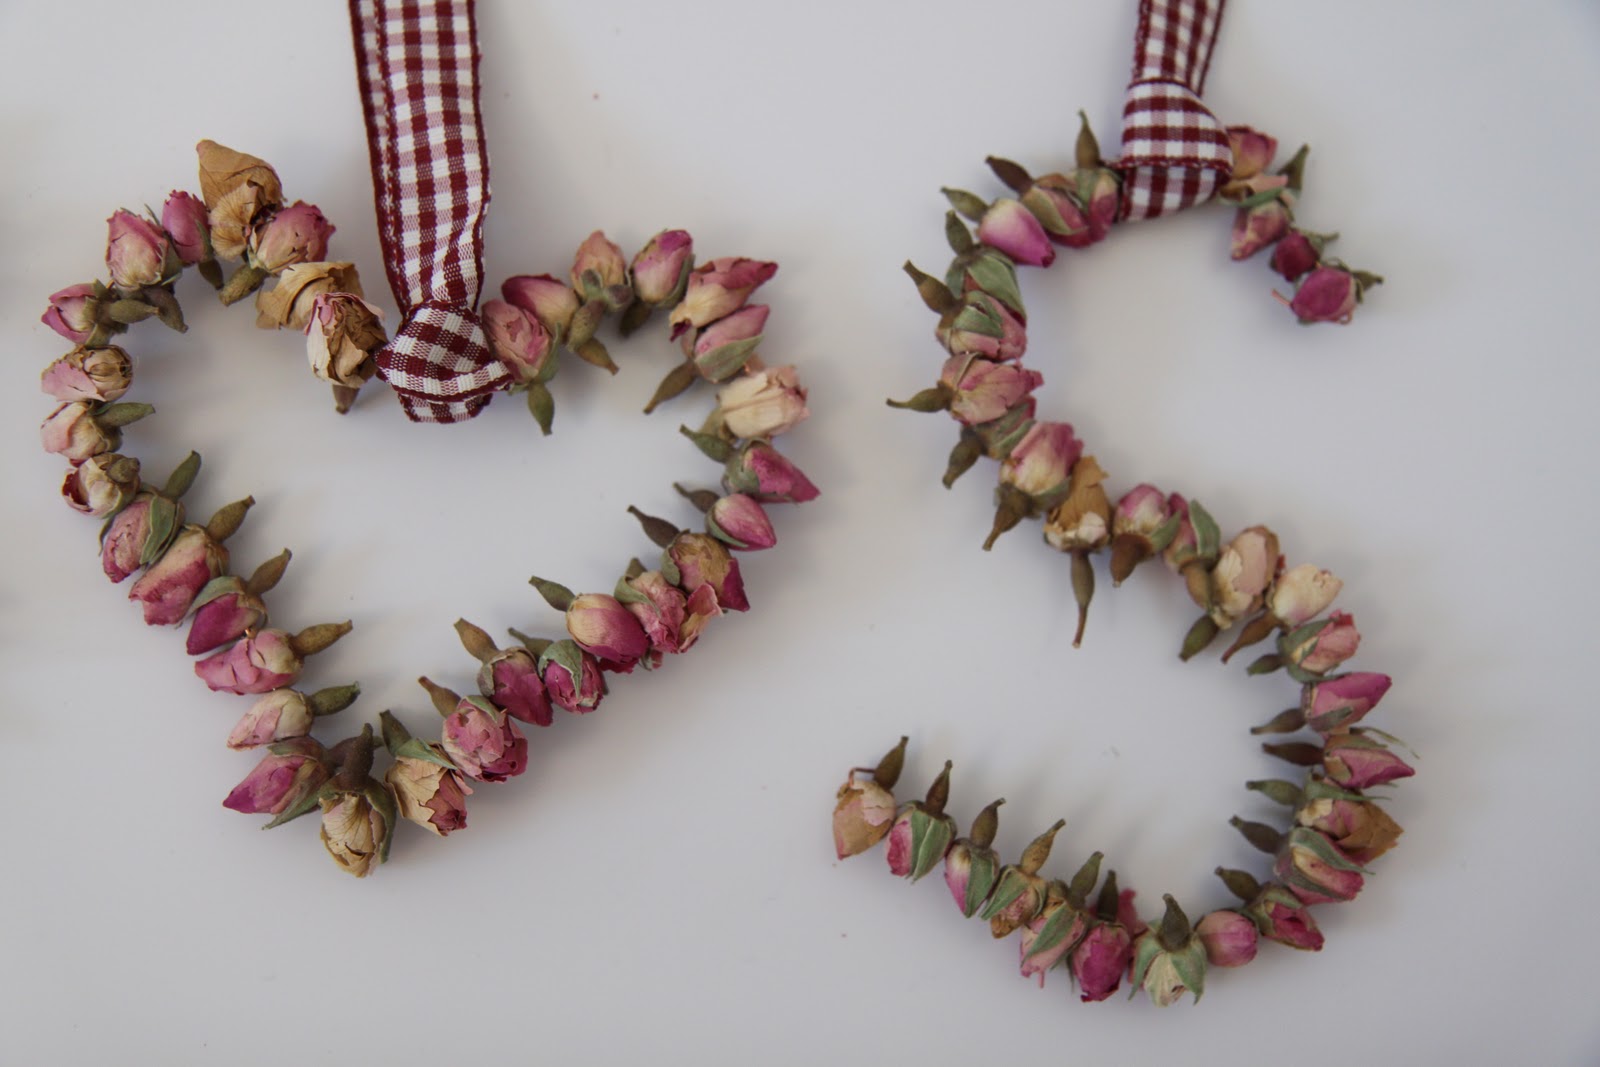
Great tutorial-love the sweater pillow and the heart would be great for valentines day!
I'm visiting from The Virginia House linky party! I love this pillow! I've seen several of these all over in stores, and a few in blogland, but this is a great tutorial! I'm bookmarking this for my to do file!
http://kensingtoncottage.blogspot.com
I love this snuggly pillow! Thanks for sharing at Beyond the Picket Fence's Under $100 linky party.
Great Idea, I have a pullover sweater that is out of shape from when I washed and I can not get it back.I have tried to reshape it laying it flat but didn't work,tried to do it in the drier nope nothing happened so I guess it will make a great Pillow thanks for the inspiration.
Great Job!
Tammy
Great job on the upcycle...it turned out adorable! Thanks for linking @Creative Itch's "Sew Cute Tuesday"!
Looks great Sarah! So cozy and inviting:)
Great idea! They look so cozy!
How clever, Sarah! I like how you used the buttons already attached. You have a delightful blog. I'm just gonna have to follow along!
Have a great weekend!
Michelle
Impressive and thrifty! I just love pillows with buttons.
http://beautifulnest.blogspot.com/
I adore this pillow! I love the look and repurposing that sweater is my cup of tea. Thank you so much for joining my party, Sarah!
I love your new word "plumptious"! And I'm so glad you were able to link to my party. Thanks!
And I also love your sweater pillow. I think maybe you and I were separated at birth (which means maybe I should be living some place cool like the Cotswolds instead of the US midwest)...we think alike. Check out this old blog post of mine http://bit.ly/aWc3Ea
I need to learn to sew..THis is super cute! So winter to me
Love those!!
Great job!
I loooove those! I need to go through my sweater box and see about making me one. Love it!
I like your pillow! It looks so comfy too. I love the cream colour! Thanks for sharing you link with me. And thanks for the kind words on my sweater pillow as well. Yay to upcycling!
You know I love these ;-) The first image I came across in Google images, the week of your inspiration party. Almost used it but opted for another one. Great minds!
This is very unique and very important blog for famers. I really appreciate to this blog and also this website. Thanks for sharing this types of blogs. So then good and keep it up to this work. Nice work. Economy Tarpaulin
Kudos to you for addressing such an important topic. Your well-researched article provides a comprehensive understanding, and your suggestions for action are both practical and impactful. heavy duty waterproof tarpaulin
The way you structured this article was very effective. The flow was smooth, and each section logically led to the next. Well done! Tarpaulins
Post a Comment