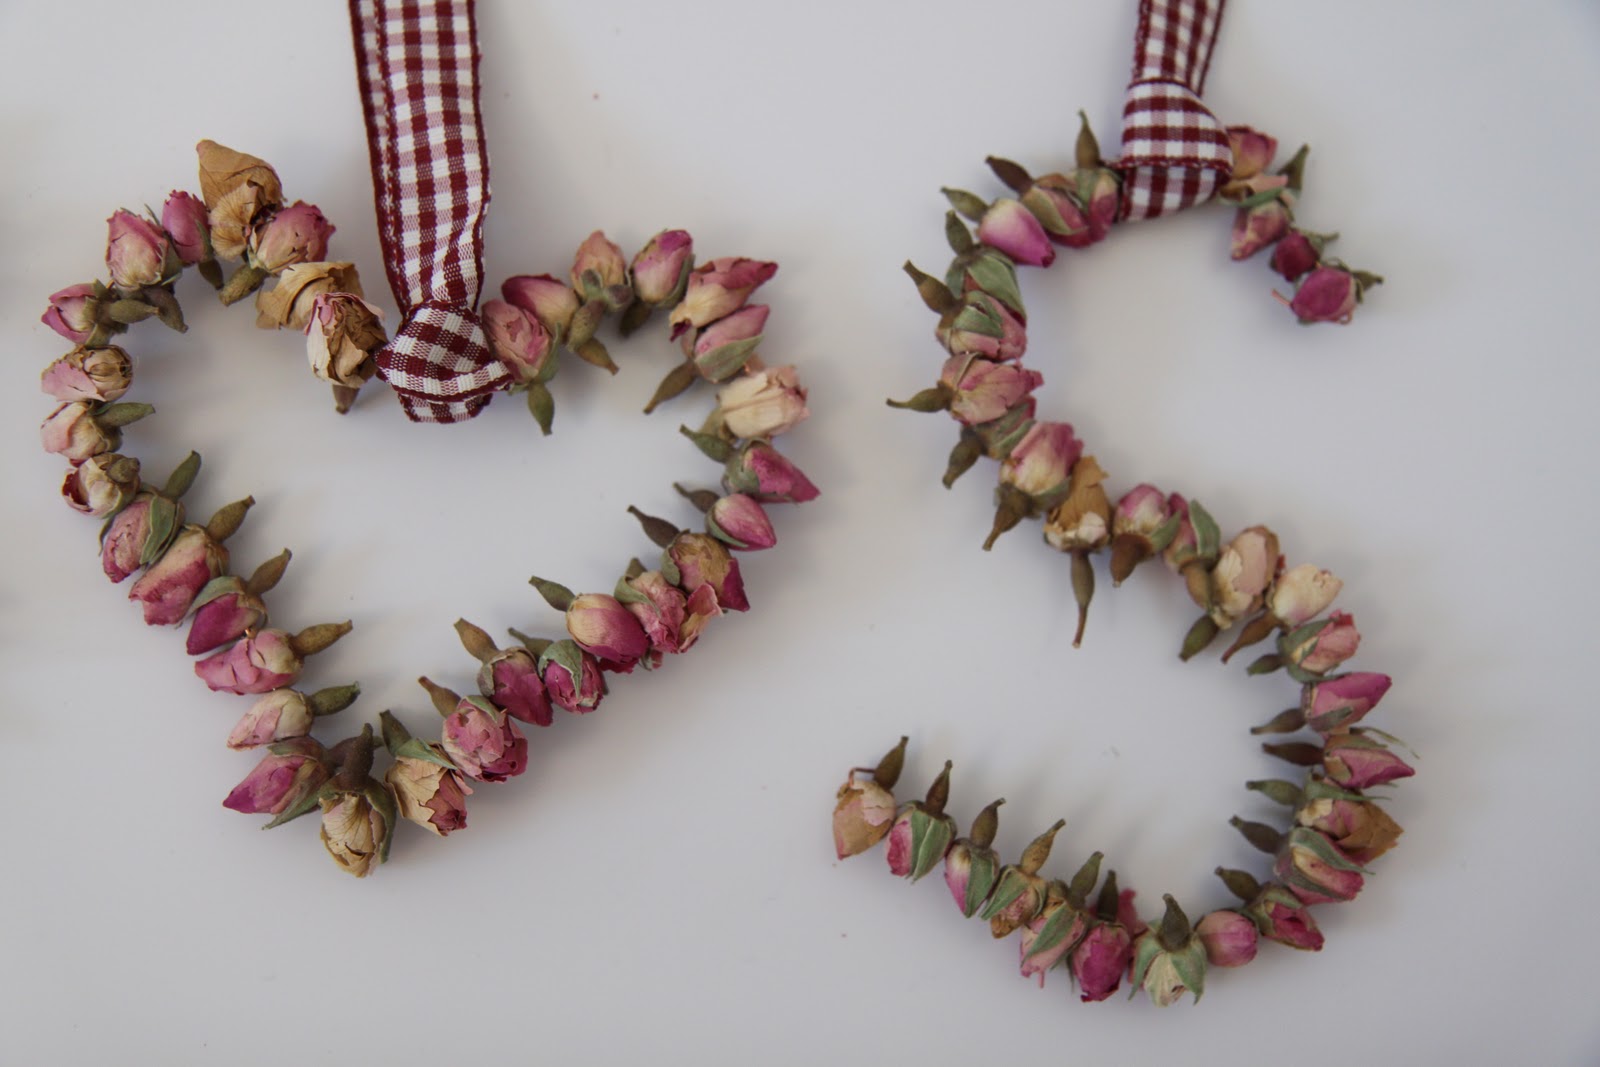
I've made you a present.
{I know, too kind, right?!}
It's a button for my
Paint, Please link party
{to link up all your paints projects: rooms, furniture, crafts....}.
If you'd like to put one on your blog post ready to link up then that would be just fine and dandy.
Here it is, complete with the html code
to make a clickable button on YOUR blog:
You know when you have an experience that just sets you alight?
Those of you who follow me on Facebook will know how I felt after Annie Sloan's Paint Course.
I came home absolutely abuzz.
I was bouncing off the walls with ideas, information and inspiration.
It was an unbelievably lovely day.
To be able to sit with like-minded people and
learn from an expert like Annie Sloan was such a privilege.
{Thank you so much, Annie.}
Once again, I think it's worth reiterating that the fantastic thing about Annie Sloan's Chalk Paints is that they can be successfully painted STRAIGHT ON to things such as metal, glass, wood, melamine, and varnish.......
Like this:
And produce long-lasting results like this:
Say goodbye to that sandpaper.
Oh, and the primer too.
The first thing we learnt about what makes Annie Sloan's paints different,
is that you can use them to create the texture.
Wouldn't it be great to learn how to produce something like this,
which looks as though it's come straight from a French Chateau?
You want to know how to do it right now?
Oh, go on then!!!!
You get this effect by painting the FIRST COAT of paint in all directions, and by loading your brush with more paint than usual. Doing this will help to create the impression of layers and layers of paint that have accumulated over years, when combined with the following steps.
It doesn't have to be perfect.
In fact, it SHOULDN'T be perfect!!
{Was there ever a better instruction?}
Blobs and are good.
Then for the second coat, paint in the usual backwards-forwards fashion with another layer of paint, which should be of 'normal' thickness
{if the paint seems a little thin, it's easy to water down slightly if necessary}.
Step three is to sand gently (or firmly for a more distressed look)
so that the top coat is rubbed back in places to the first coat.
By sanding all over with the same pressure,
this will happen naturally in bumps and ridges that
you created with the first coat of paint.
If there are other specific areas that you'd like rubbing back
(for example, corners, or any areas that would receive knocks and scrapes),
then by all means pay more attention to those areas.
Now, having waxed lyrical about the Chalk Paint,
we learned next that they work best for a long-lasting finish
when finished with wax.
Annie Sloan has two types of waxes.
Clear wax and dark wax.
The clear wax looks like this:
When I've heard about waxing furniture with beeswax,
I've always thought of Wax Polish which needs so much
elbow grease and buffing and rubbing.
Interminable.
That is NOT what Annie Sloan's waxes are like.
Think more of smearing a thin layer of margarine on your table.
But with a lovely smell!
Later, when its dried, you can gently buff it.
The more you rub, the more of a shine you'll end up with.
But it's NOT hard work.
More like rubbing in moisturising cream.
See that hair-dryer at the front of the image above?
Whatever could it be doing there?
Find out tomorrow for the most magical thing ever!!
Love
Sarahx


 01
09
10
24 comments :
Ooooh, I am loving your posts this week!!
Going to have to get me some of that wax!!
S x
I'm already so enraptured, I can't wait to hear more!!!
What fun, Sarah. You were in painting heaven, I can tell.
I can feel a shopping trip to our Annie Sloan stockists coming on. The wax looks brilliant stuff, just got to decide on the colour.
I need to get that paint. I have a million and one projects needing some Annie Sloan Paint attention. Where do I get her stuff?
You, my dear, are a great teacher and motivator.
Fondly,
Glenda
Thanks so much for letting me peek over your shoulder as you teach us all what you learned. I am ordering some paint now... :)
Oh my, pretty wall sconce. Must have.
Hi, long time no see, i love the paint! here you can buy it in the hardwarestores, It works really great!
greetings
You had me at melamine:) Linky button is up. Hopefully, you'll forgive me for not being painty. Although i'm still painted in flour.
I am jealous of your time with Annie. I just completed a slightly unconventional application of her wonderful paint! I am hooked and cannot wait to work on my next project...come and see!
I appreciate this information so much Sarah. I've read a variety of reviews from a variety of blog sources on this product, but none so well informed. I look forward to the next installment! xo Diane
I have to get some sooooooooooon!
You are just having so much fun teasing us!!!
Sweet Sarah what shall we do with you?!! Lol
Cant wait to hear and see more!!!!!
Deborah xoxoxo
Great post! I would love to try some of that paint.
Hugs, Cindy
Sarah,
Girl, you crack me up too! You make it sound so easy! Can't wait for the next lesson! I just found a shop here in Nashville that is going to be selling her paint! Can't wait to get some and try it out!
Rebecca
What fun paint posts Sarah!
You are really enjoying yourself, and I'm learning so much from your post. Now, I want to know what the hair dryer is used for. Interesting!!
Fabulous blog, have really enjoyed your series on Annie Sloan paint, (I am a very big fan of her paints). Would love to see pieces you've painted as well. Love your house as well by the way.
I am going to an Annie Sloan painting class tomorrow. I have been painting furniture for over 10 years and am excited to learn more. What I have used of the paint so far is wonderful.
Can't wait to get my hands on some of that paint and wax. Looks like it saves a lot of time and maybe a little elbow grease.
Great post, Sarah!
The French Nest starts tomorrow. Crazy busy! Wish me luck! x
<3 ~M
I've just ordered my sample chart and can't wait to receive it and make some color choices. Do you know what colors were used on the example piece? It looks like some gold was layered in -- was that with wax? It's just the look I want with an armoire and secretary I'm going to be painting. Thank you for doing this -- not all of us are lucky enough to have classes available to us.
Oh lucky you, Annie's course's sound wonderful, so thank you Sarah for sharing this with us, I am so enjoying it :). I love this painting effect, when I went to the little french shop I was watching the owner paint a little chair and I wondered why she was scrubbing the paint on, unlike how we are told to paint furniture in one direction etc.. I understand now,.. sorry a bit of an essay :) x
This is so cool : )
Now I see that the
party is this Friday,
not last Friday! I'll
look forward to swinging
by. It's 99 degrees here
today and more this week,
so my project will have to
wait....But I will love the
inspiration I'm sure to
garner from your other
readers!!
xx Suzanne
Thank you for posting this excellent information..it is very useful to me..!
Click here:
Diploma in Painting.
Post a Comment